The Art of Spec Building – Part 2

Well folks, it’s about time I provide you all with an update on one of our latest spec builds. If you’ve been following our blog for awhile, you may remember a post I made a few months back where I rambled about bringing you along on one of our spec builds. The hope is to share some insight in to the ‘why’ and the ‘how’ behind the things we do when designing and building a spec.
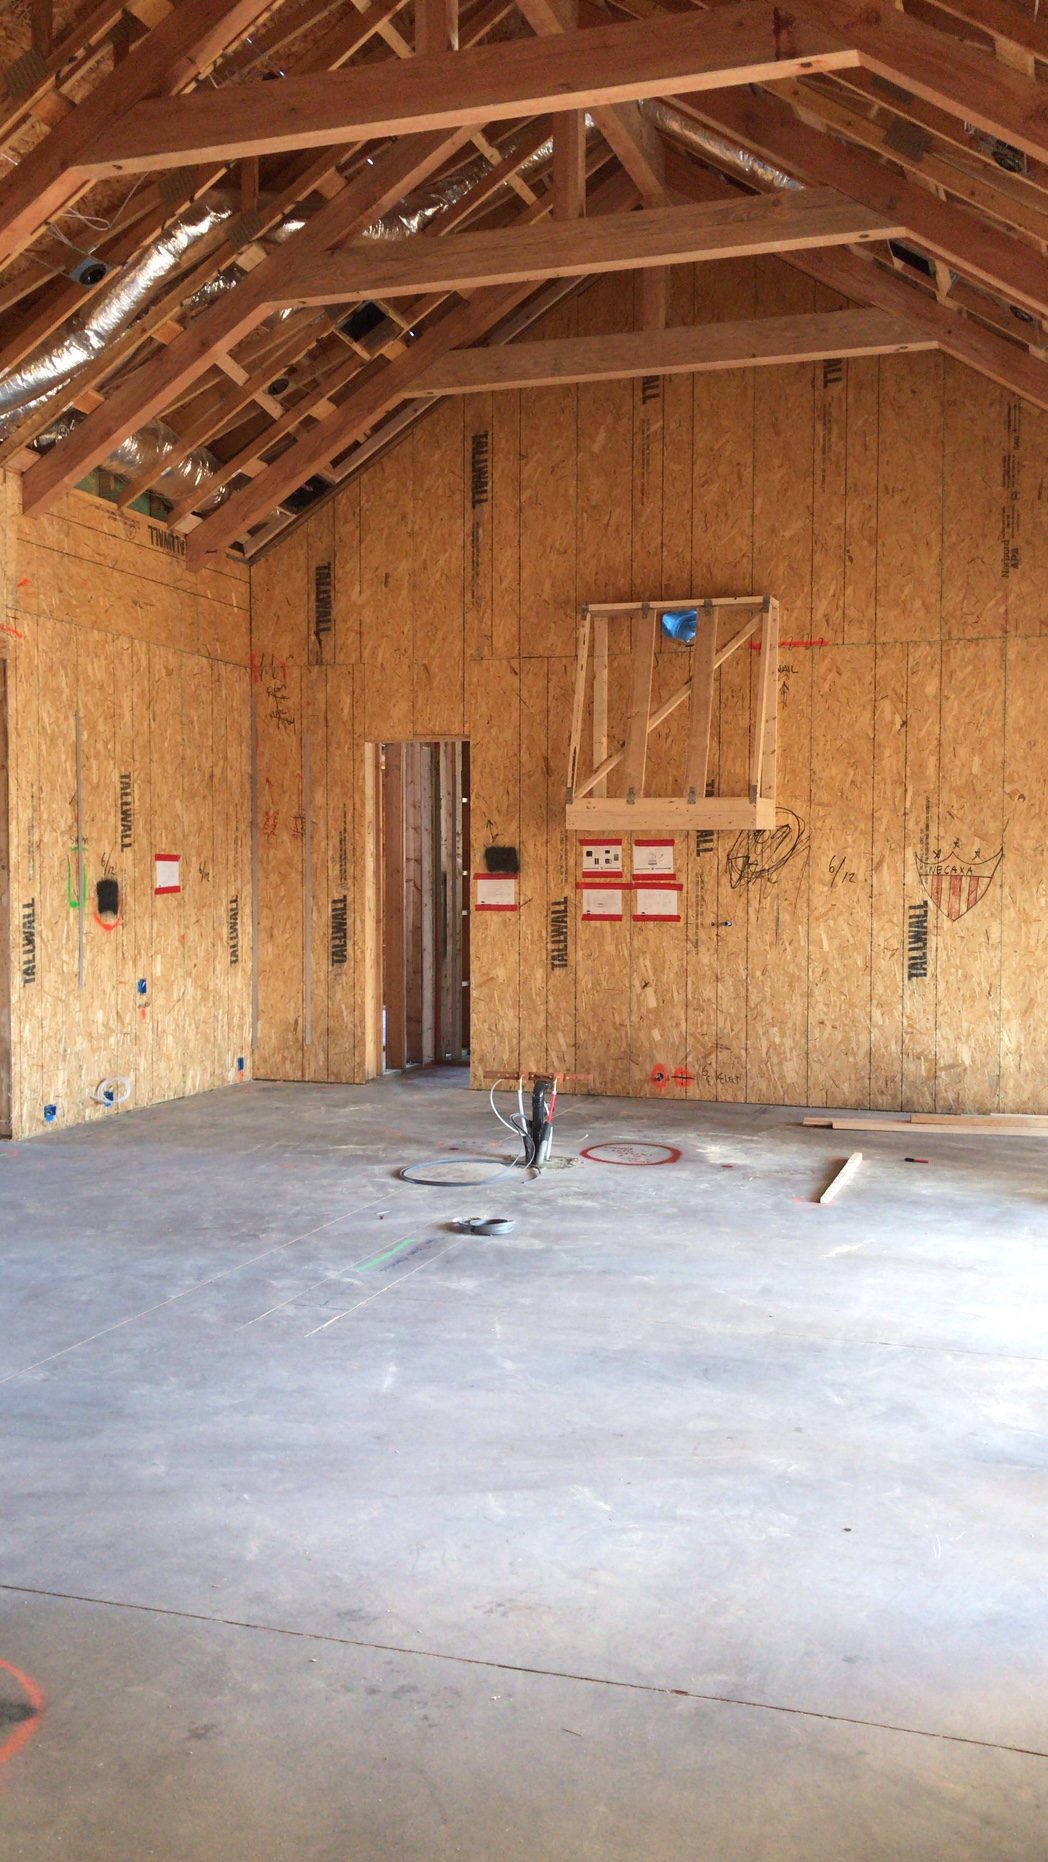
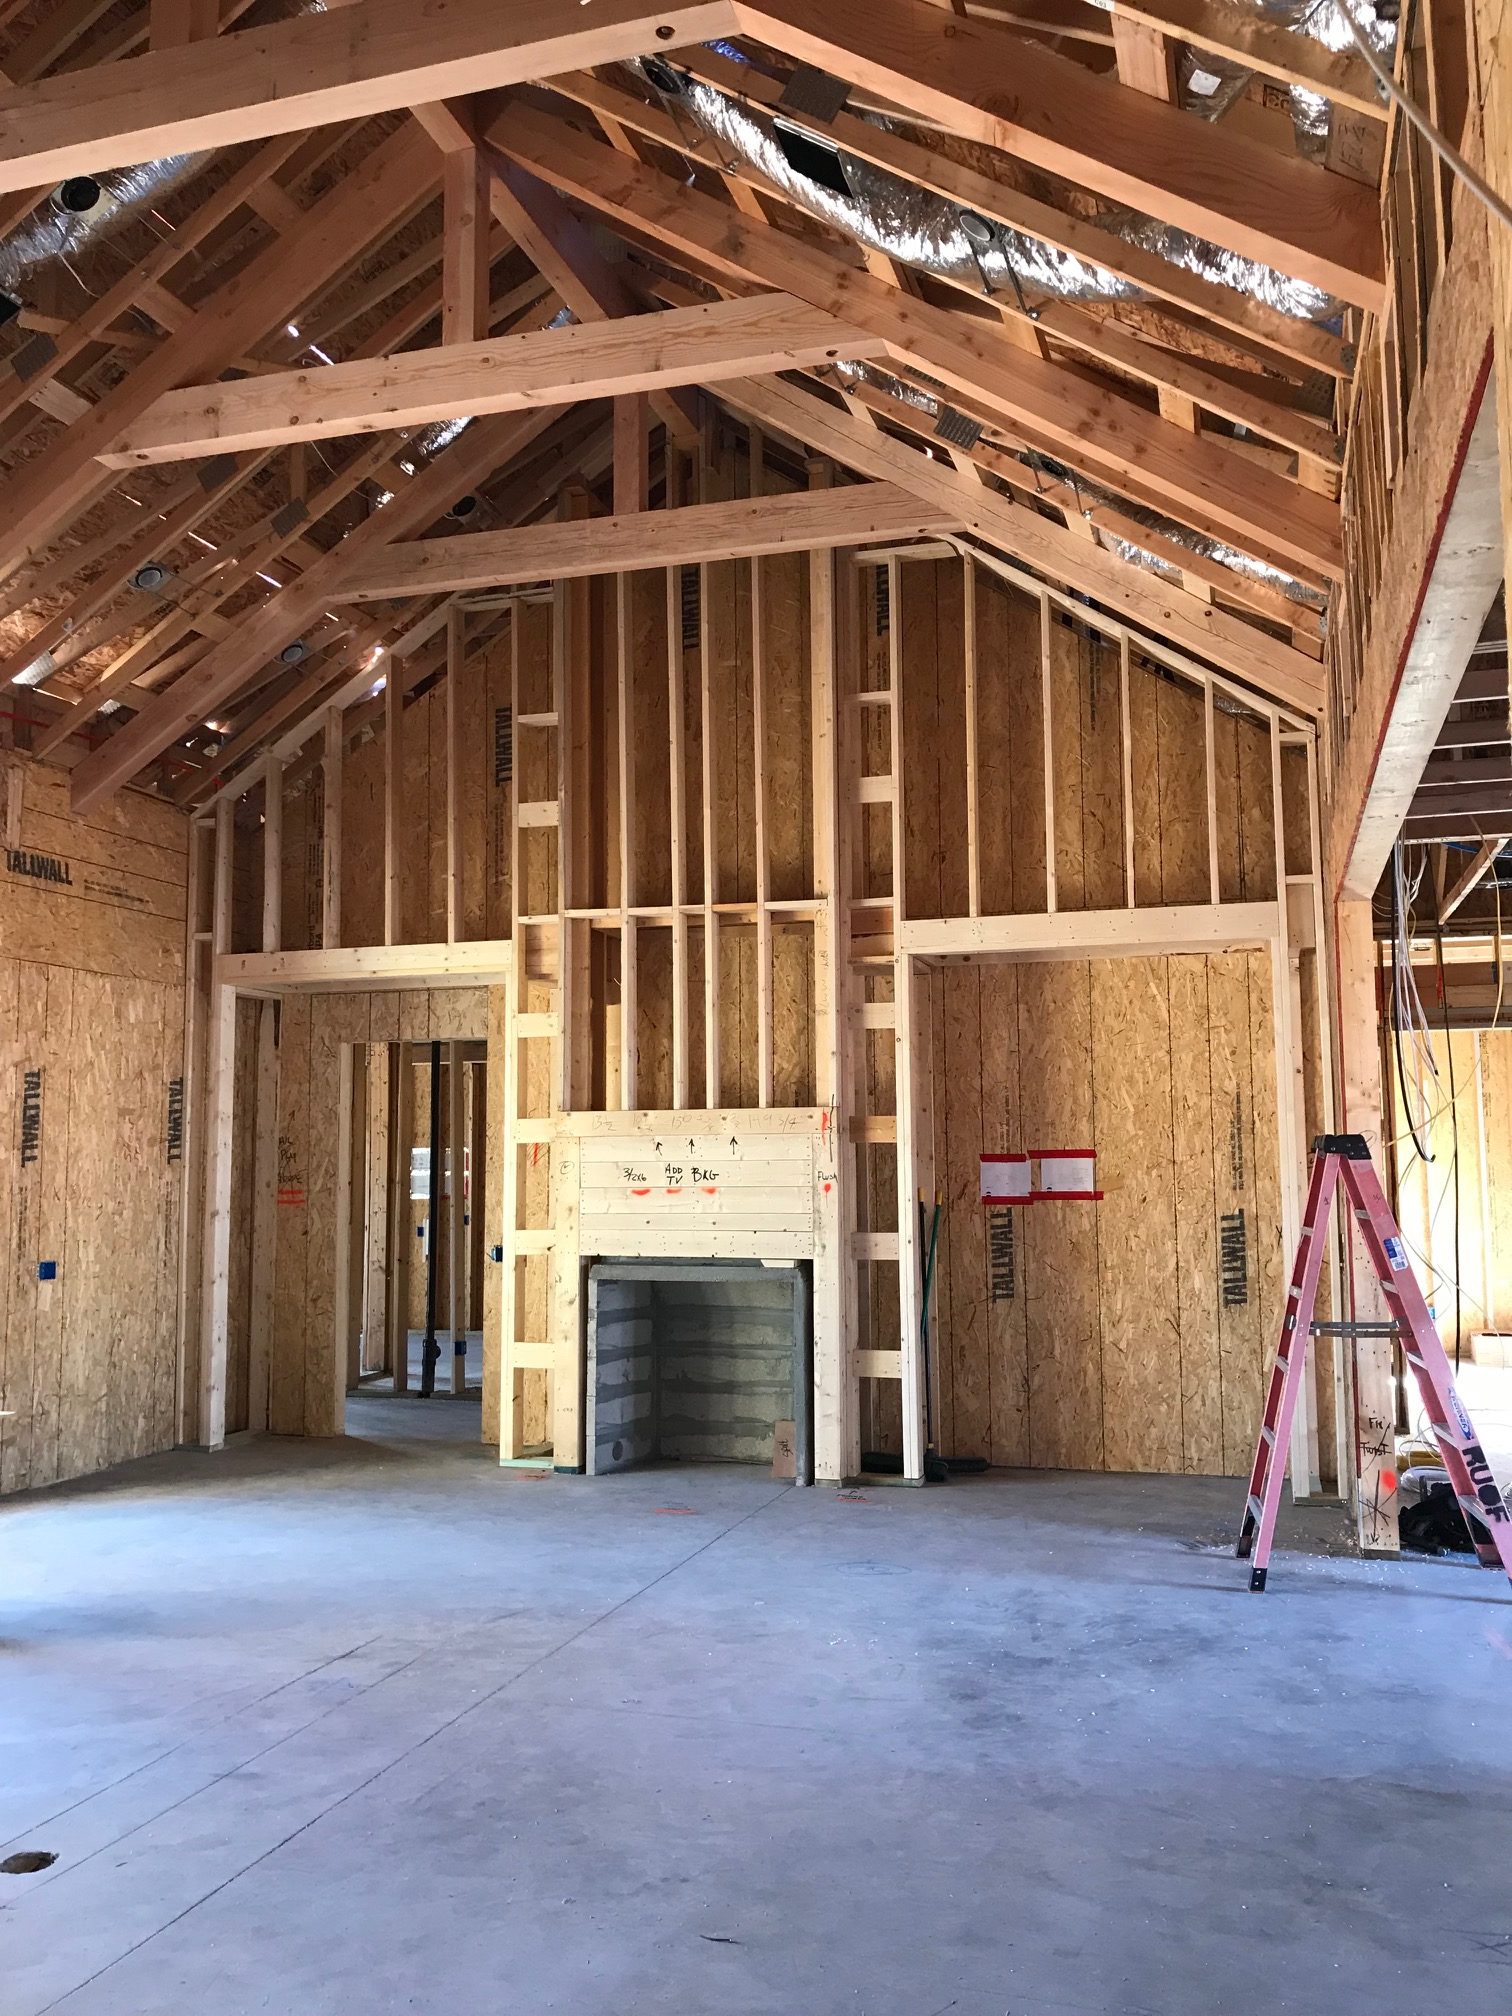
This update comes at a reasonably good time as we just finished spray foam insulating the interior of the home and are beginning drywall this week. Drywall is a somewhat symbolic stage – sound the trumpets, release the doves, do all things. It represents the completion of rough work and the beginning of all things pretty – tile, cabinetry, flooring, trim. Yup, the good stuff. Part of the reason I delayed this post is because the pre-drywall rough work is rather unromantic. Light switch placement, HVAC ducting, window heights… it’s not going to make the cover of a magazine.
But, rough work is also very critical to the future headaches (or lack thereof) as a project is built out. You do the best you can to get the architectural building plans correct but – as a rule of thumb – until things go vertical you just don’t know. So yes, intuitive light switch placement, symmetrical HVAC ducting, and accurate window heights. Rough work is all about taking the time to coordinate future details and the details of those future details. If you’re a bit lazy with light switch placement it will bite you later when you are moving switches and outlets to make way for wainscot trim. Same goes with HVAC ducting. Nothing irritates me more than when all of the ceiling candy (HVAC, can lighting, fire sprinklers, etc) doesn’t line up – or at a minimum doesn’t have any type of method to it’s madness.
Ok, end of tangent and back to the story at hand.
You came for the progress shots, right? Well let’s dive in to them.
One key item we needed to coordinate was the range hood. We had called an audible on the field (see: you can mix football and home building) and changed the range hood style. And sometimes all you need is a sharpie and some open floor to draw out the details.
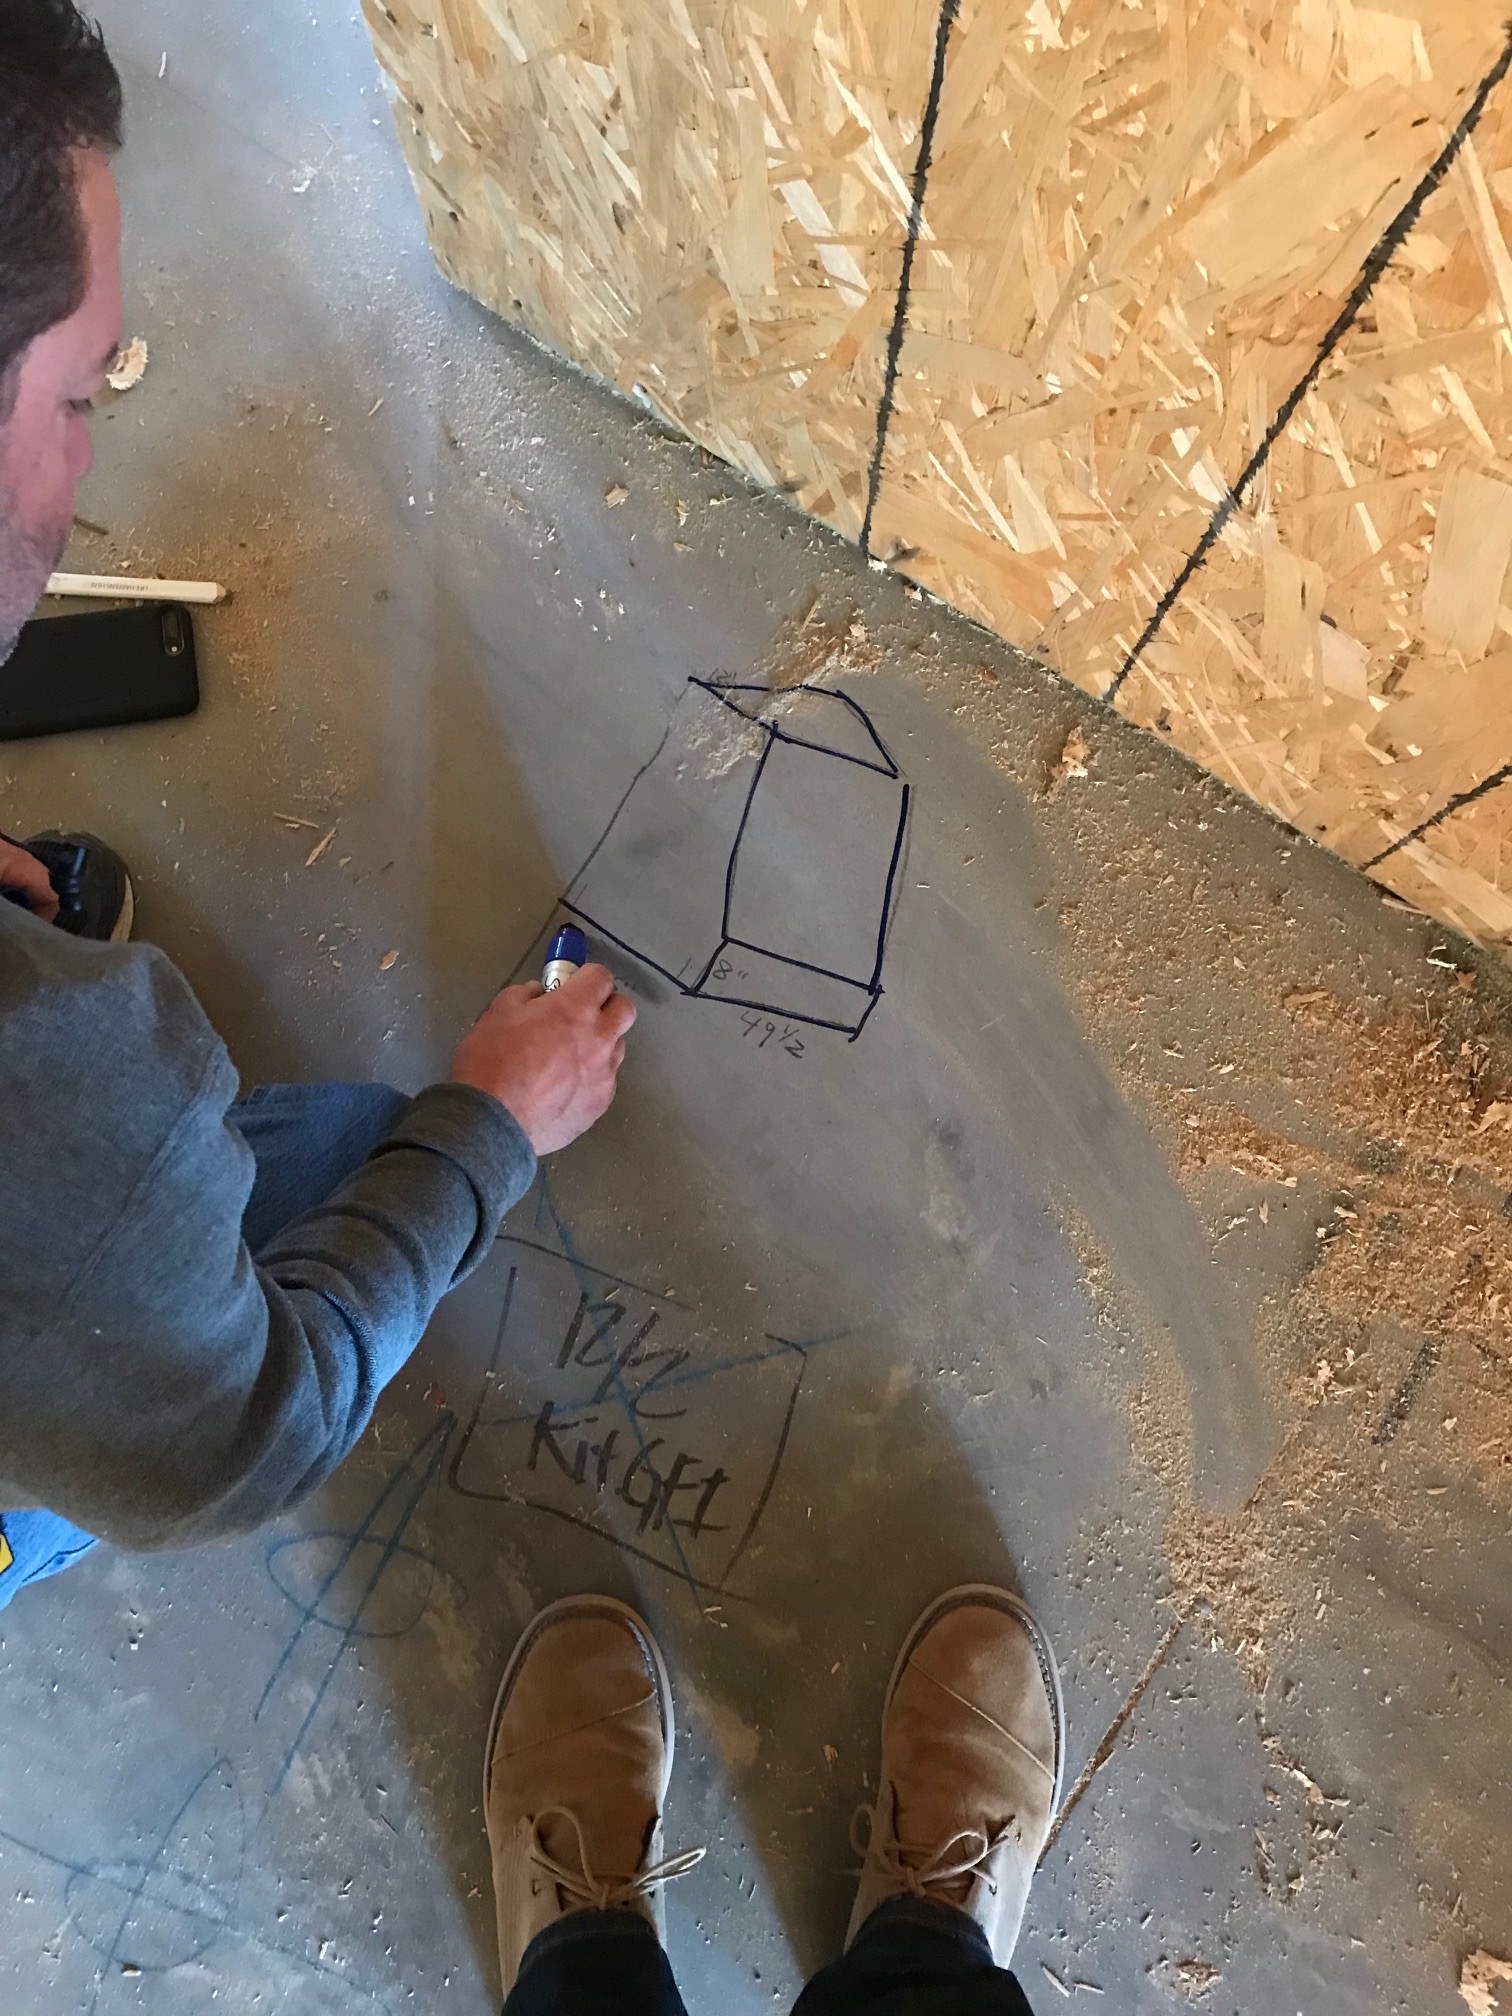
Here’s a broader shot of how the kitchen lays out. The range hood will have a plaster finish and a lower wood tone “apron” that will run across the front and return on each side. That apron will match floating shelves in the kitchen as well as the island. My mother always told me to repeat design details in 3’s…
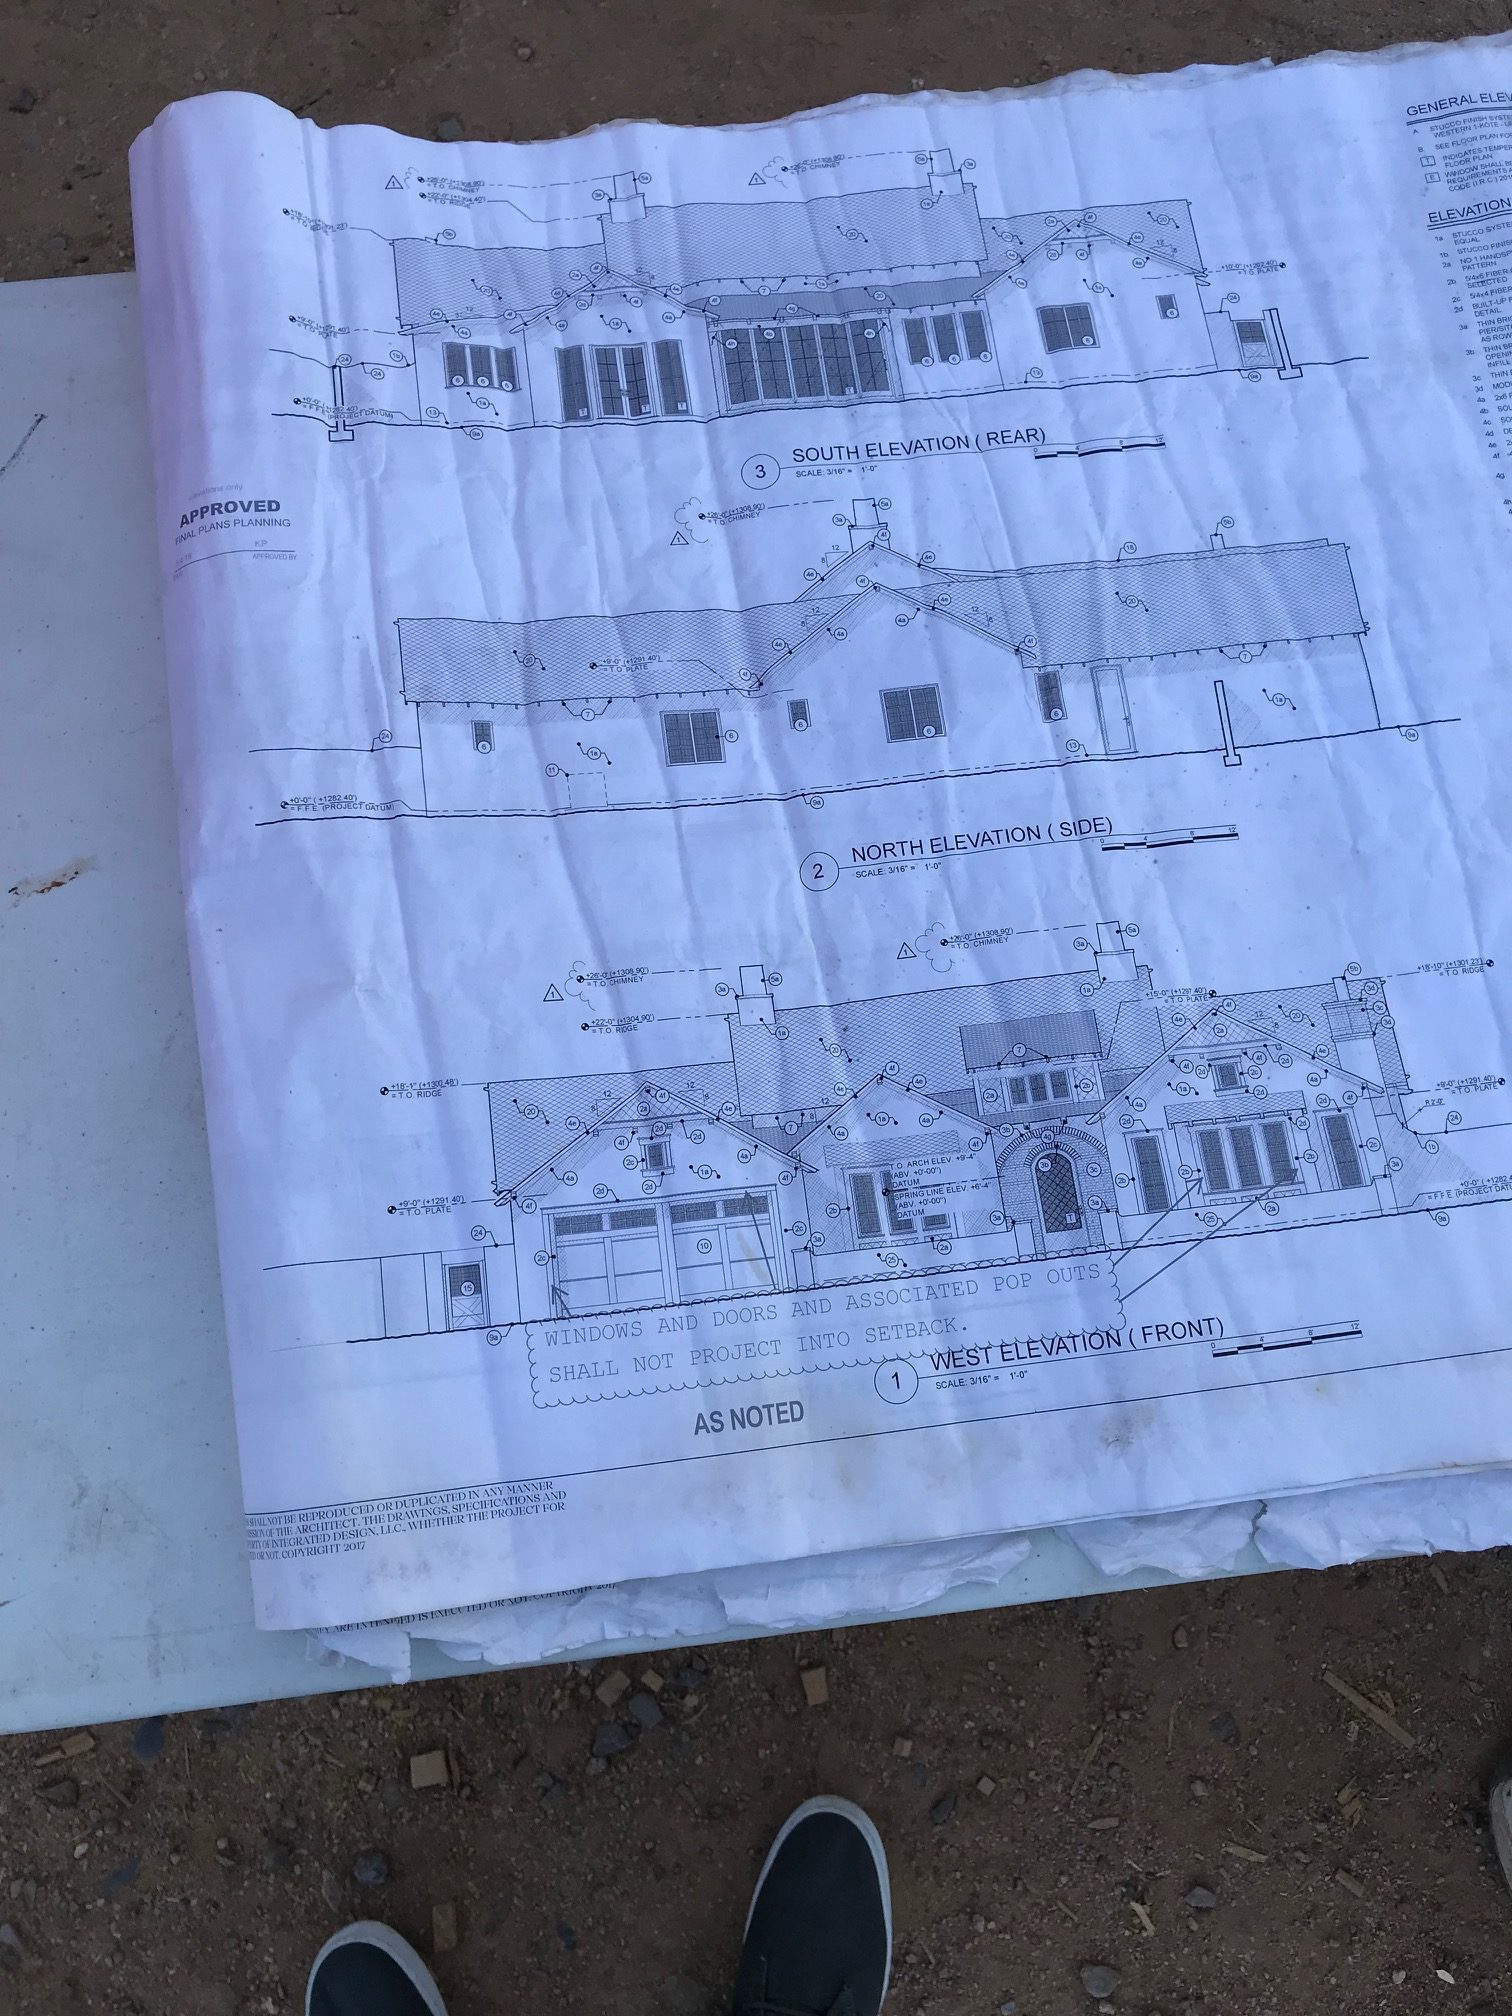
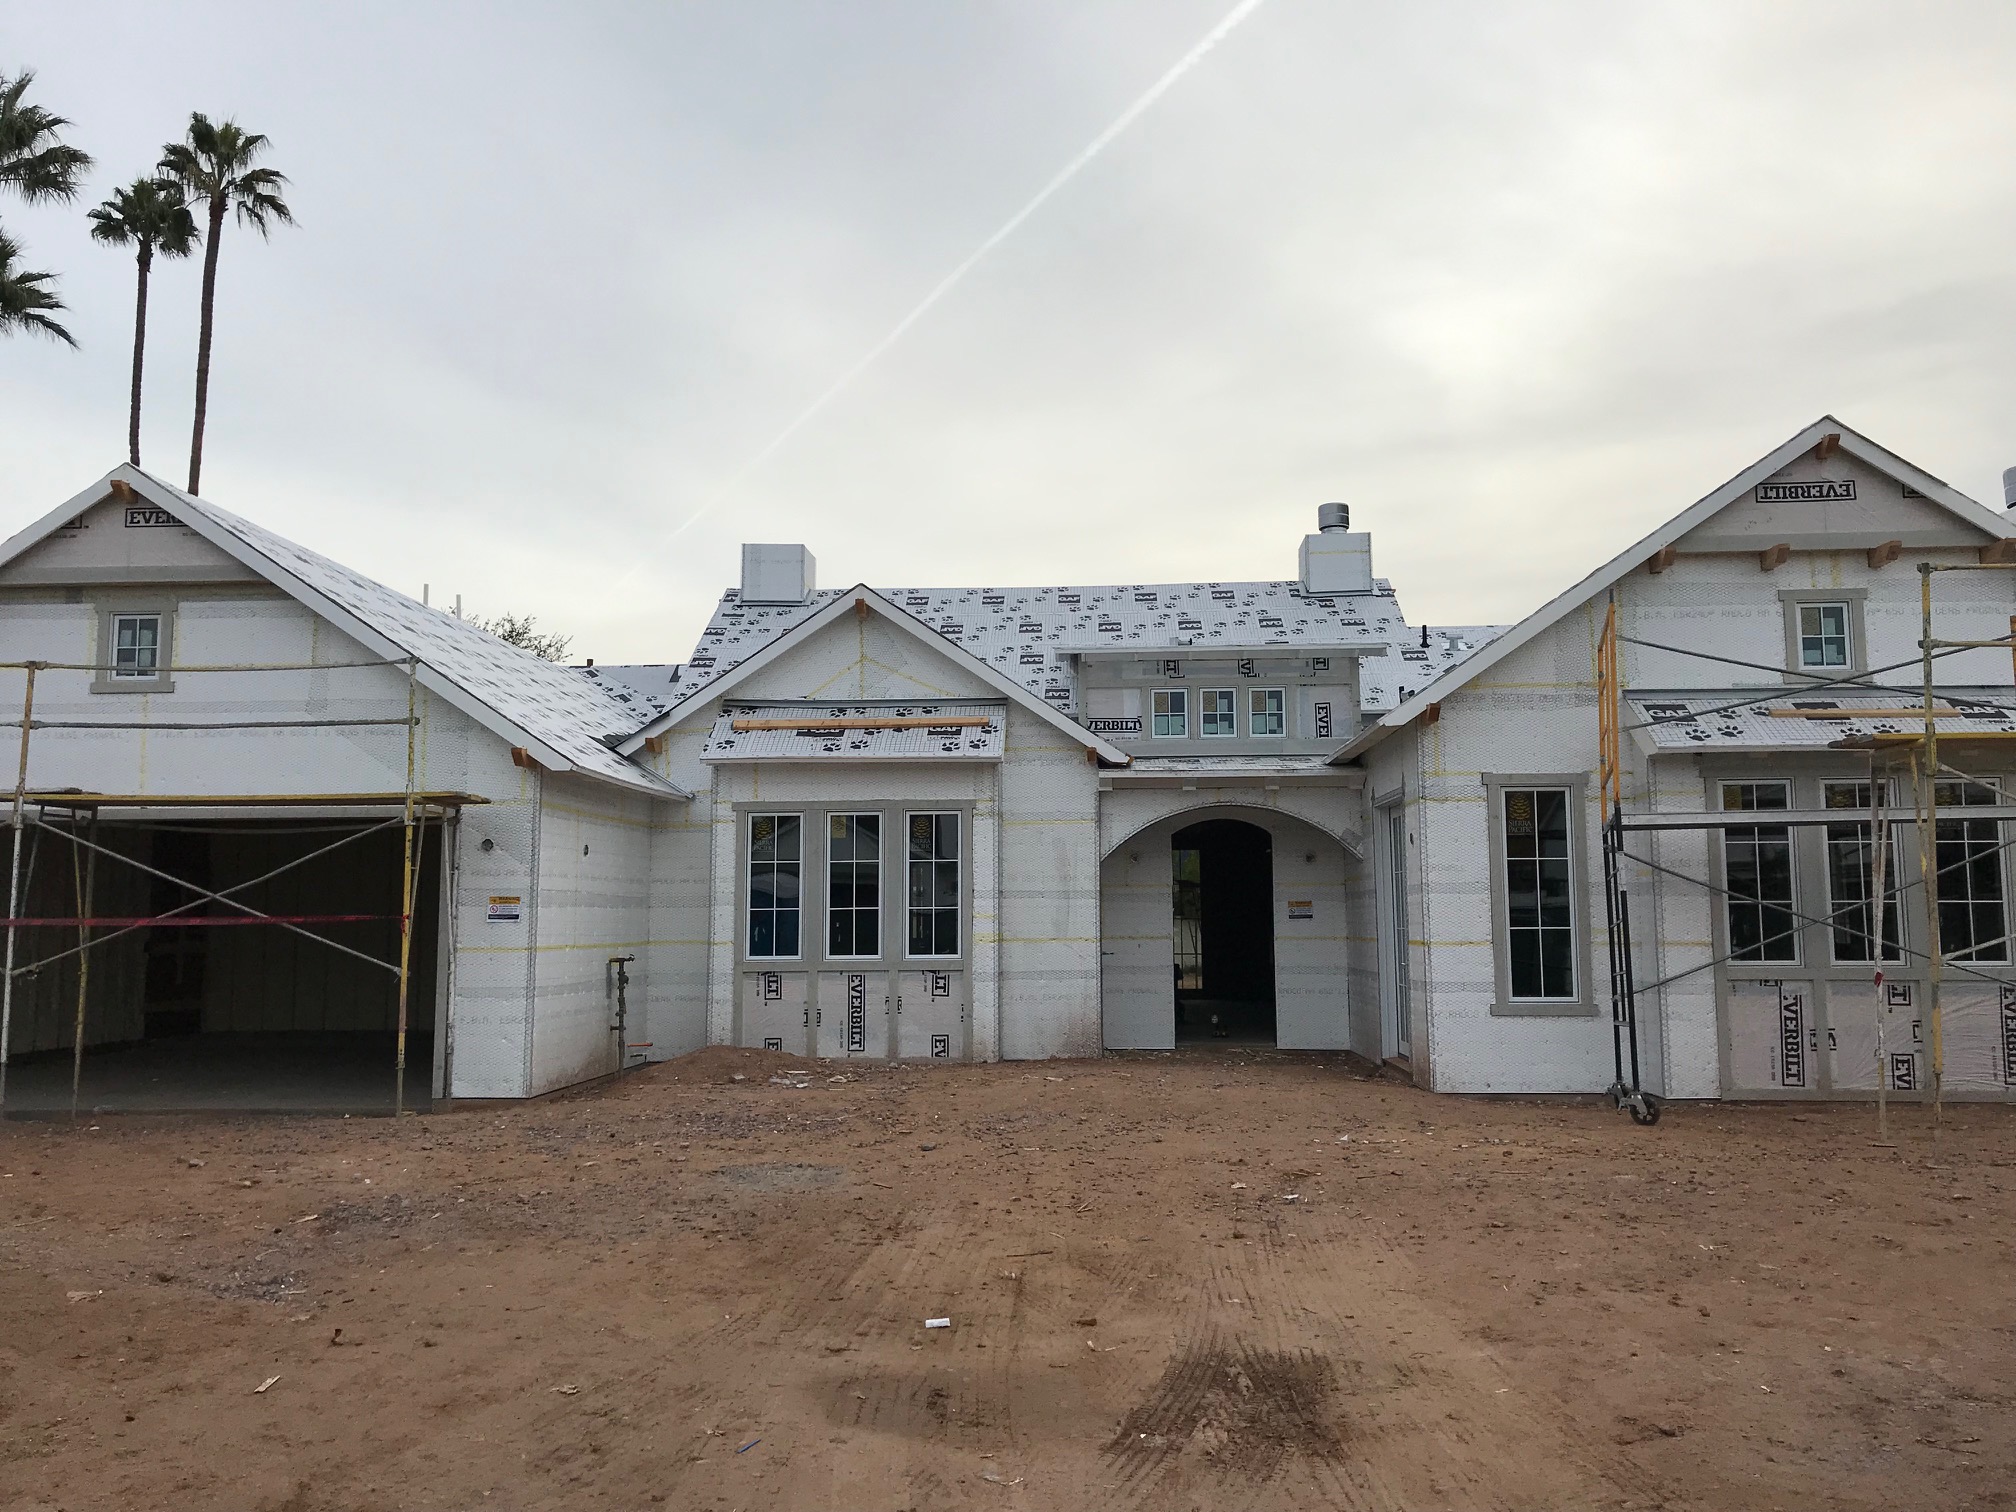
Lastly friends, no project update post would be complete without a front elevation shot. So here you go. The current exterior status.
We have a 15-day drywall schedule underway that’ll take us to the first of the year. During that time we’ll scratch coat stucco and load the roof shingles. After the Holiday break roof shingles get installed, garage door installed, finish up exterior siding, site grading, and we’ll roll right in to the interior. Tile, cabinetry, flooring, trim… you know, the pretty stuff.
I’ll circle back around with an update then.
Be well,
Austin

About the Author
 Me? Well, I’m Austin King and I’m your captain. I co-founded Rafterhouse in late 2012 and it’s been a wild ride ever since. I cherish what I do and feel blessed to get to wake up every day and do what I love. I live in the Arcadia area with my beautiful wife, Suzanne, and three sweet kids – Lily, Oliver, and Hazel. If you see me around, say hi.
Austin,
Really enjoy following along the process. And even learn a few things along the way! Looking good.
Thanks
Kim
Aka Cakepops101